A few weeks ago a good friend drove up my driveway and surprised me with two small chairs from IKEA (called Jules) that her big kids didn’t use anymore. It’s funny because I was just recently looking for new chairs for my twin daughter’s room and the ones that she so generously dropped off to me were the ones that I had actually been looking at to buy. Very serendipitous.
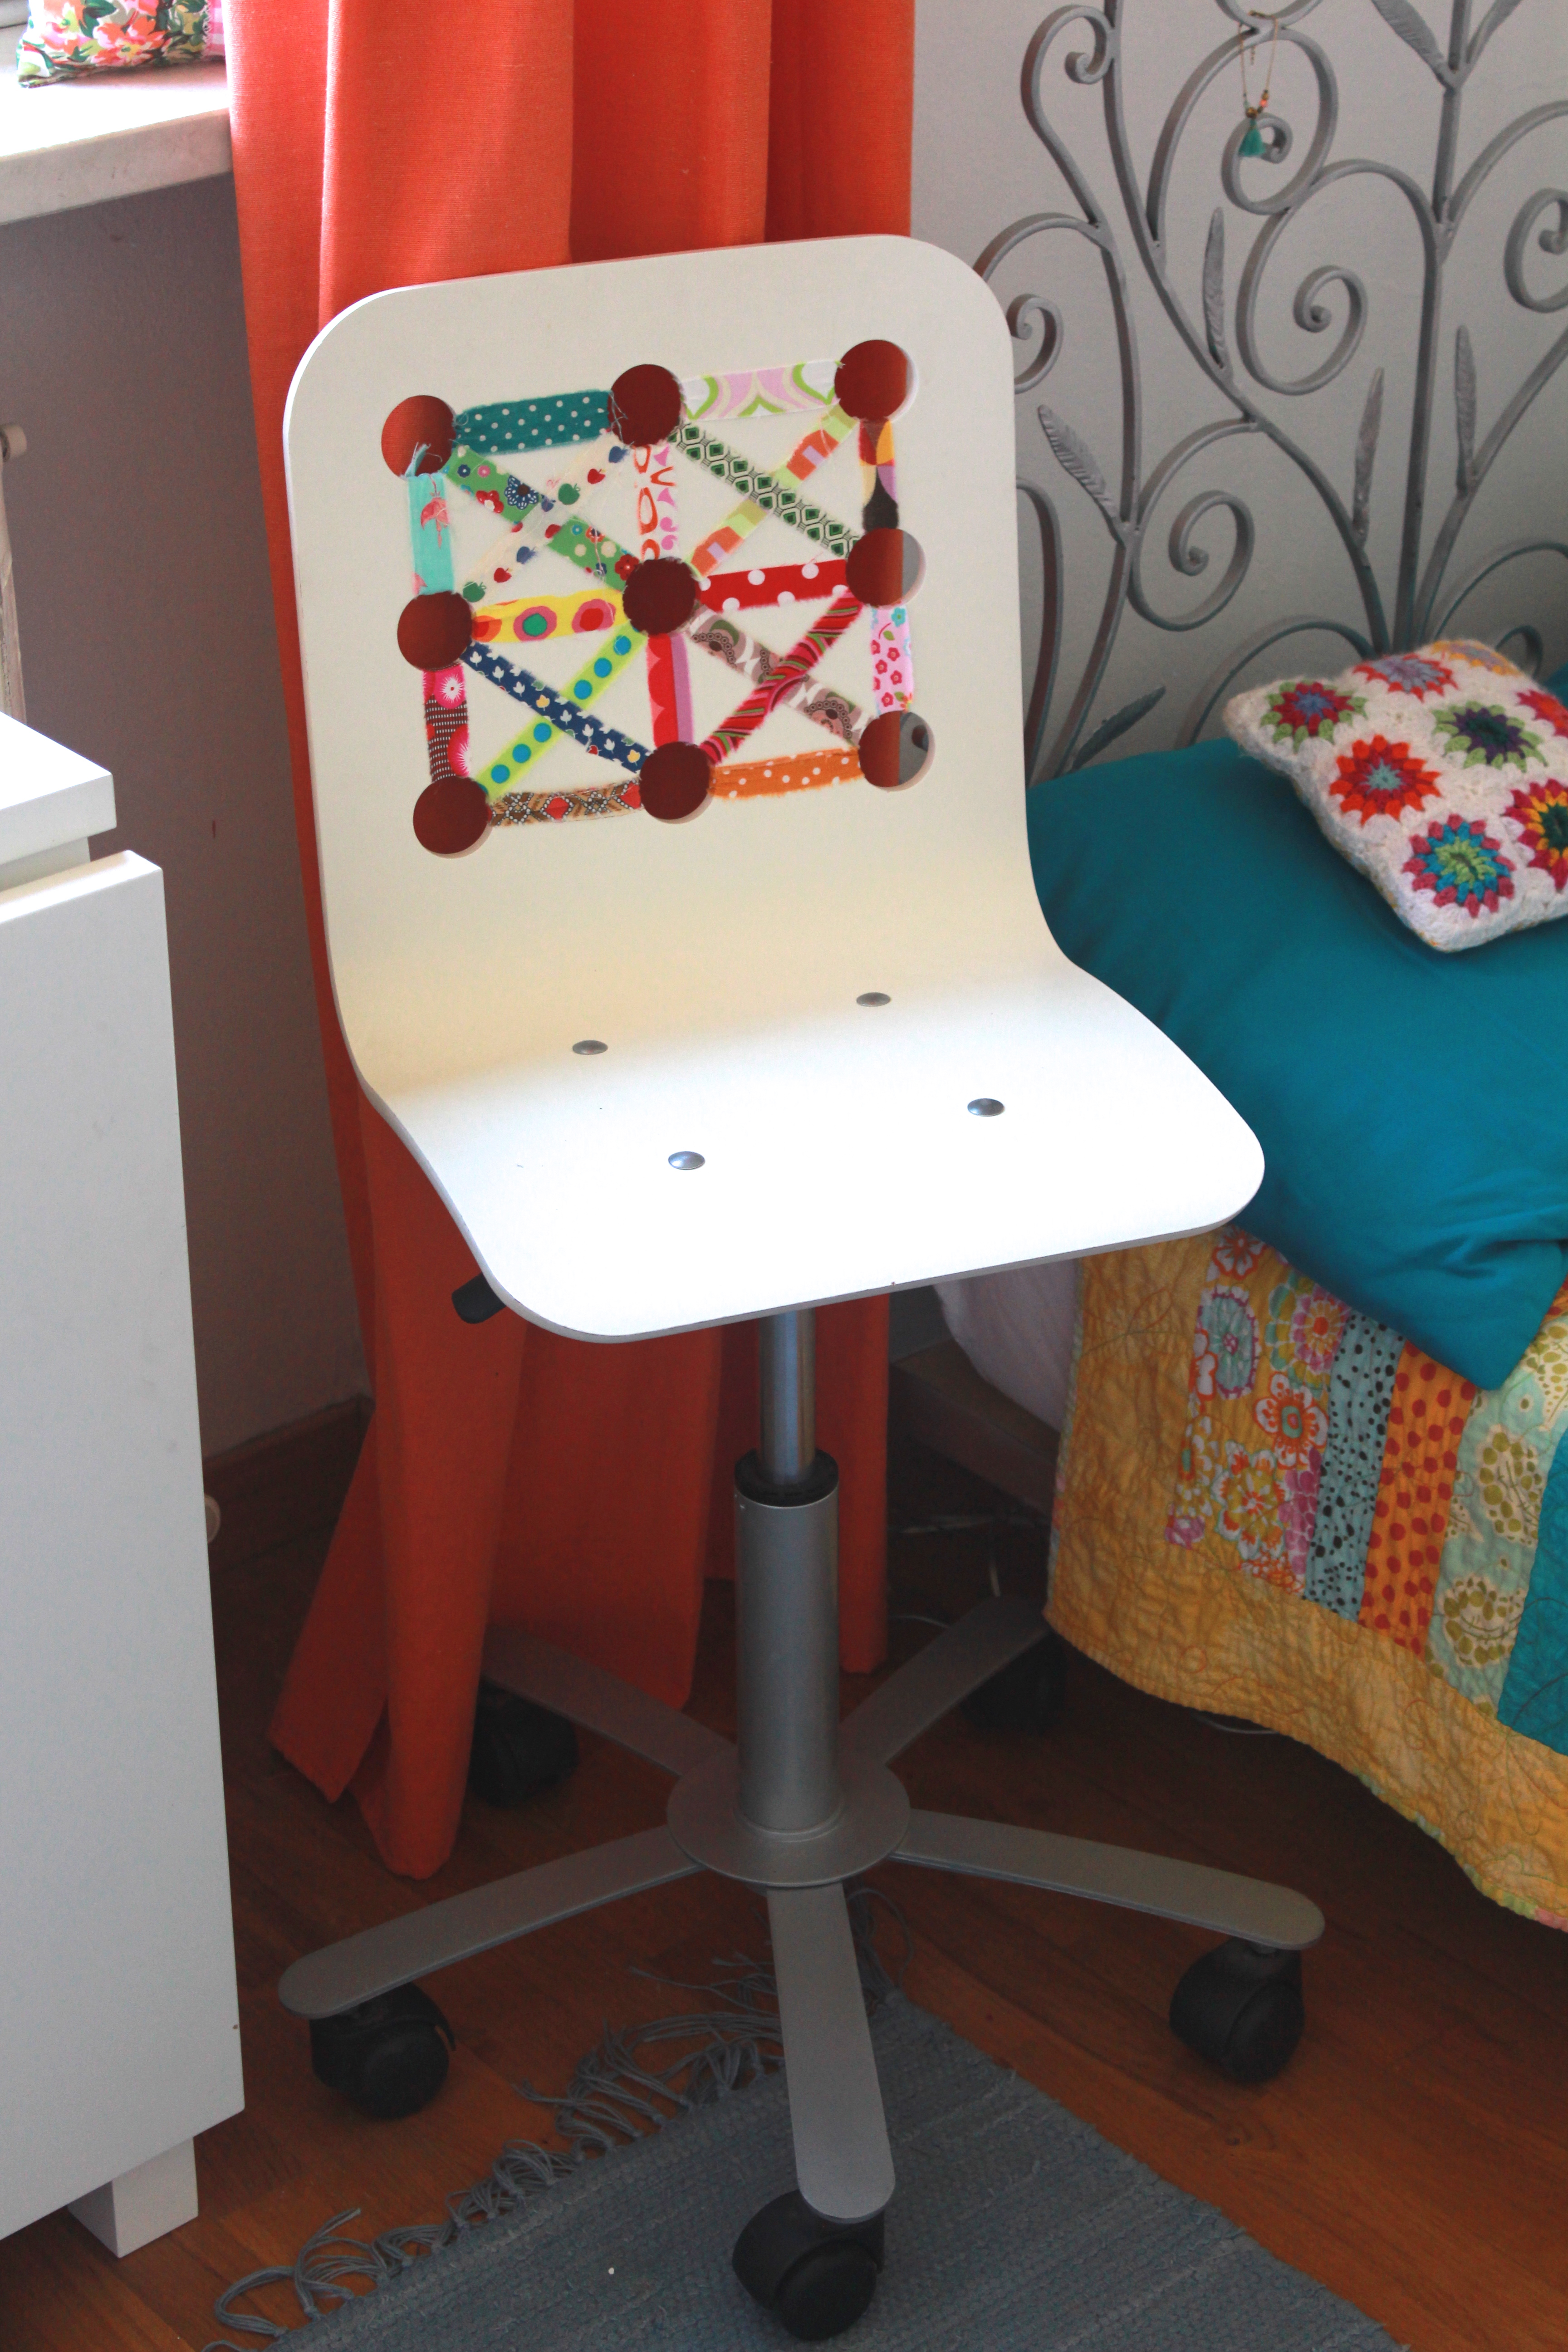
So there I was looking at these little white chairs in my kitchen and I just happened to have a small basket of material scraps next to me (which is often the case for me). I had a few minutes to waste before making dinner so just started playing around with the scraps and the little holes in the back of the chair. A few minutes later my daughter came in and started to help me. We busily cut and wove and tied bows and ended up with the sweetest little chair for their bedroom.
 The chair matches their very colourful room perfectly and the girls are so happy with their new “office chairs”. Many hours are spent sitting at their desk sketching, writing pen-pal letters and doing homework.
 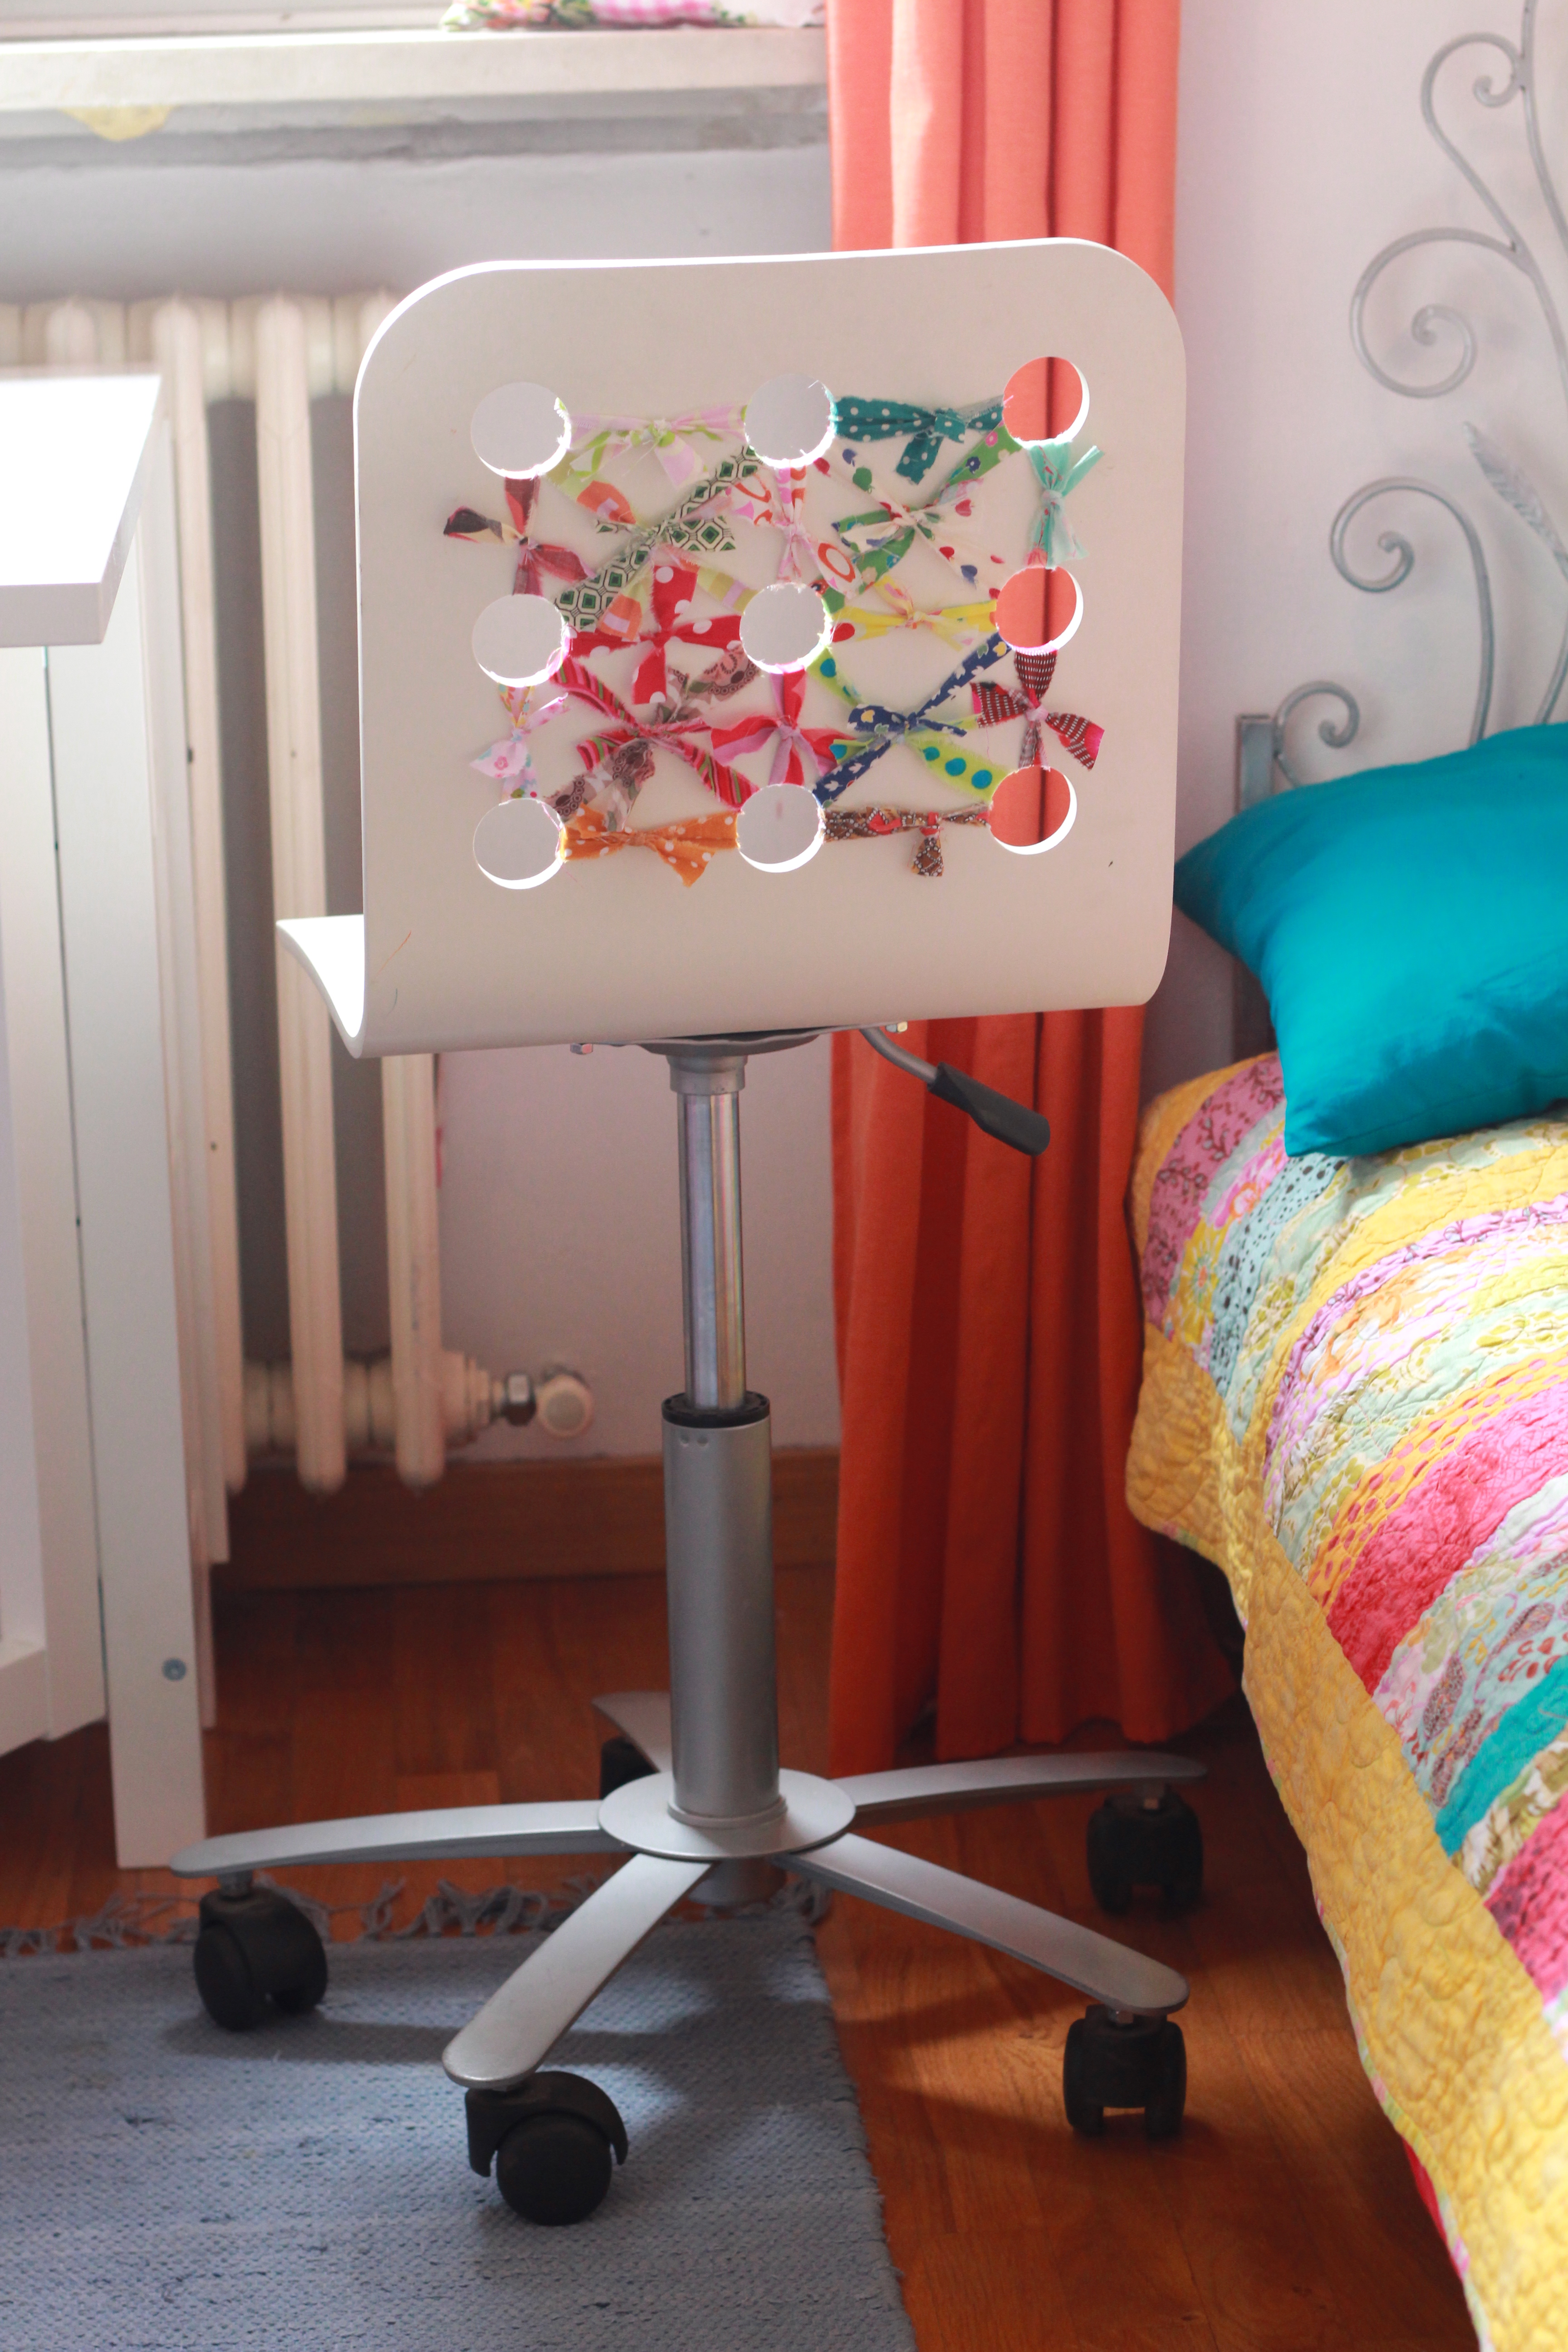 Even the back is pretty with all the different coloured bows. There are so many different ways you could decorate this chair with fabrics of every kind (patterned, solids, linens, cottons…).
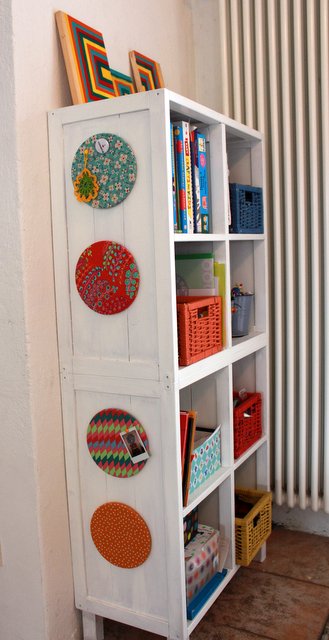
Above is another diy project I made with an everyday IKEA product. These little fabric covered bulletin boards (made from kitchen cork boards) are great to hang up on walls and closets to display everything from the kid’s art to photos. See post here.
Viva IKEA!