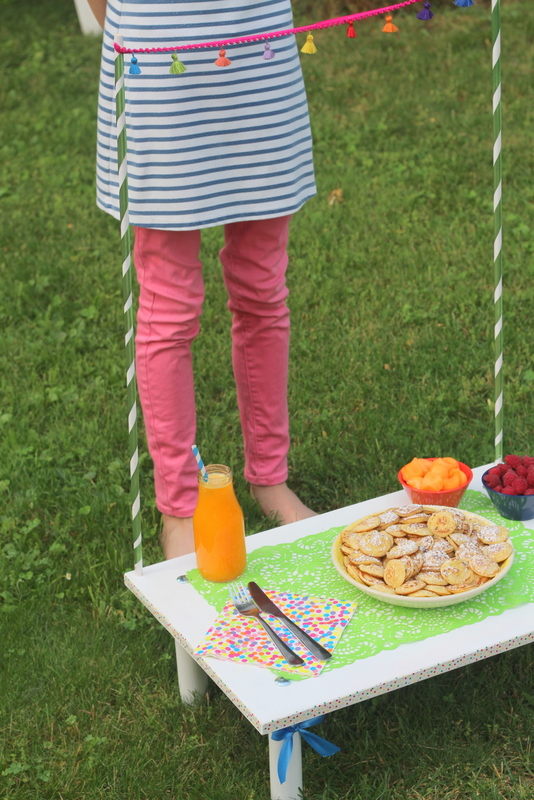
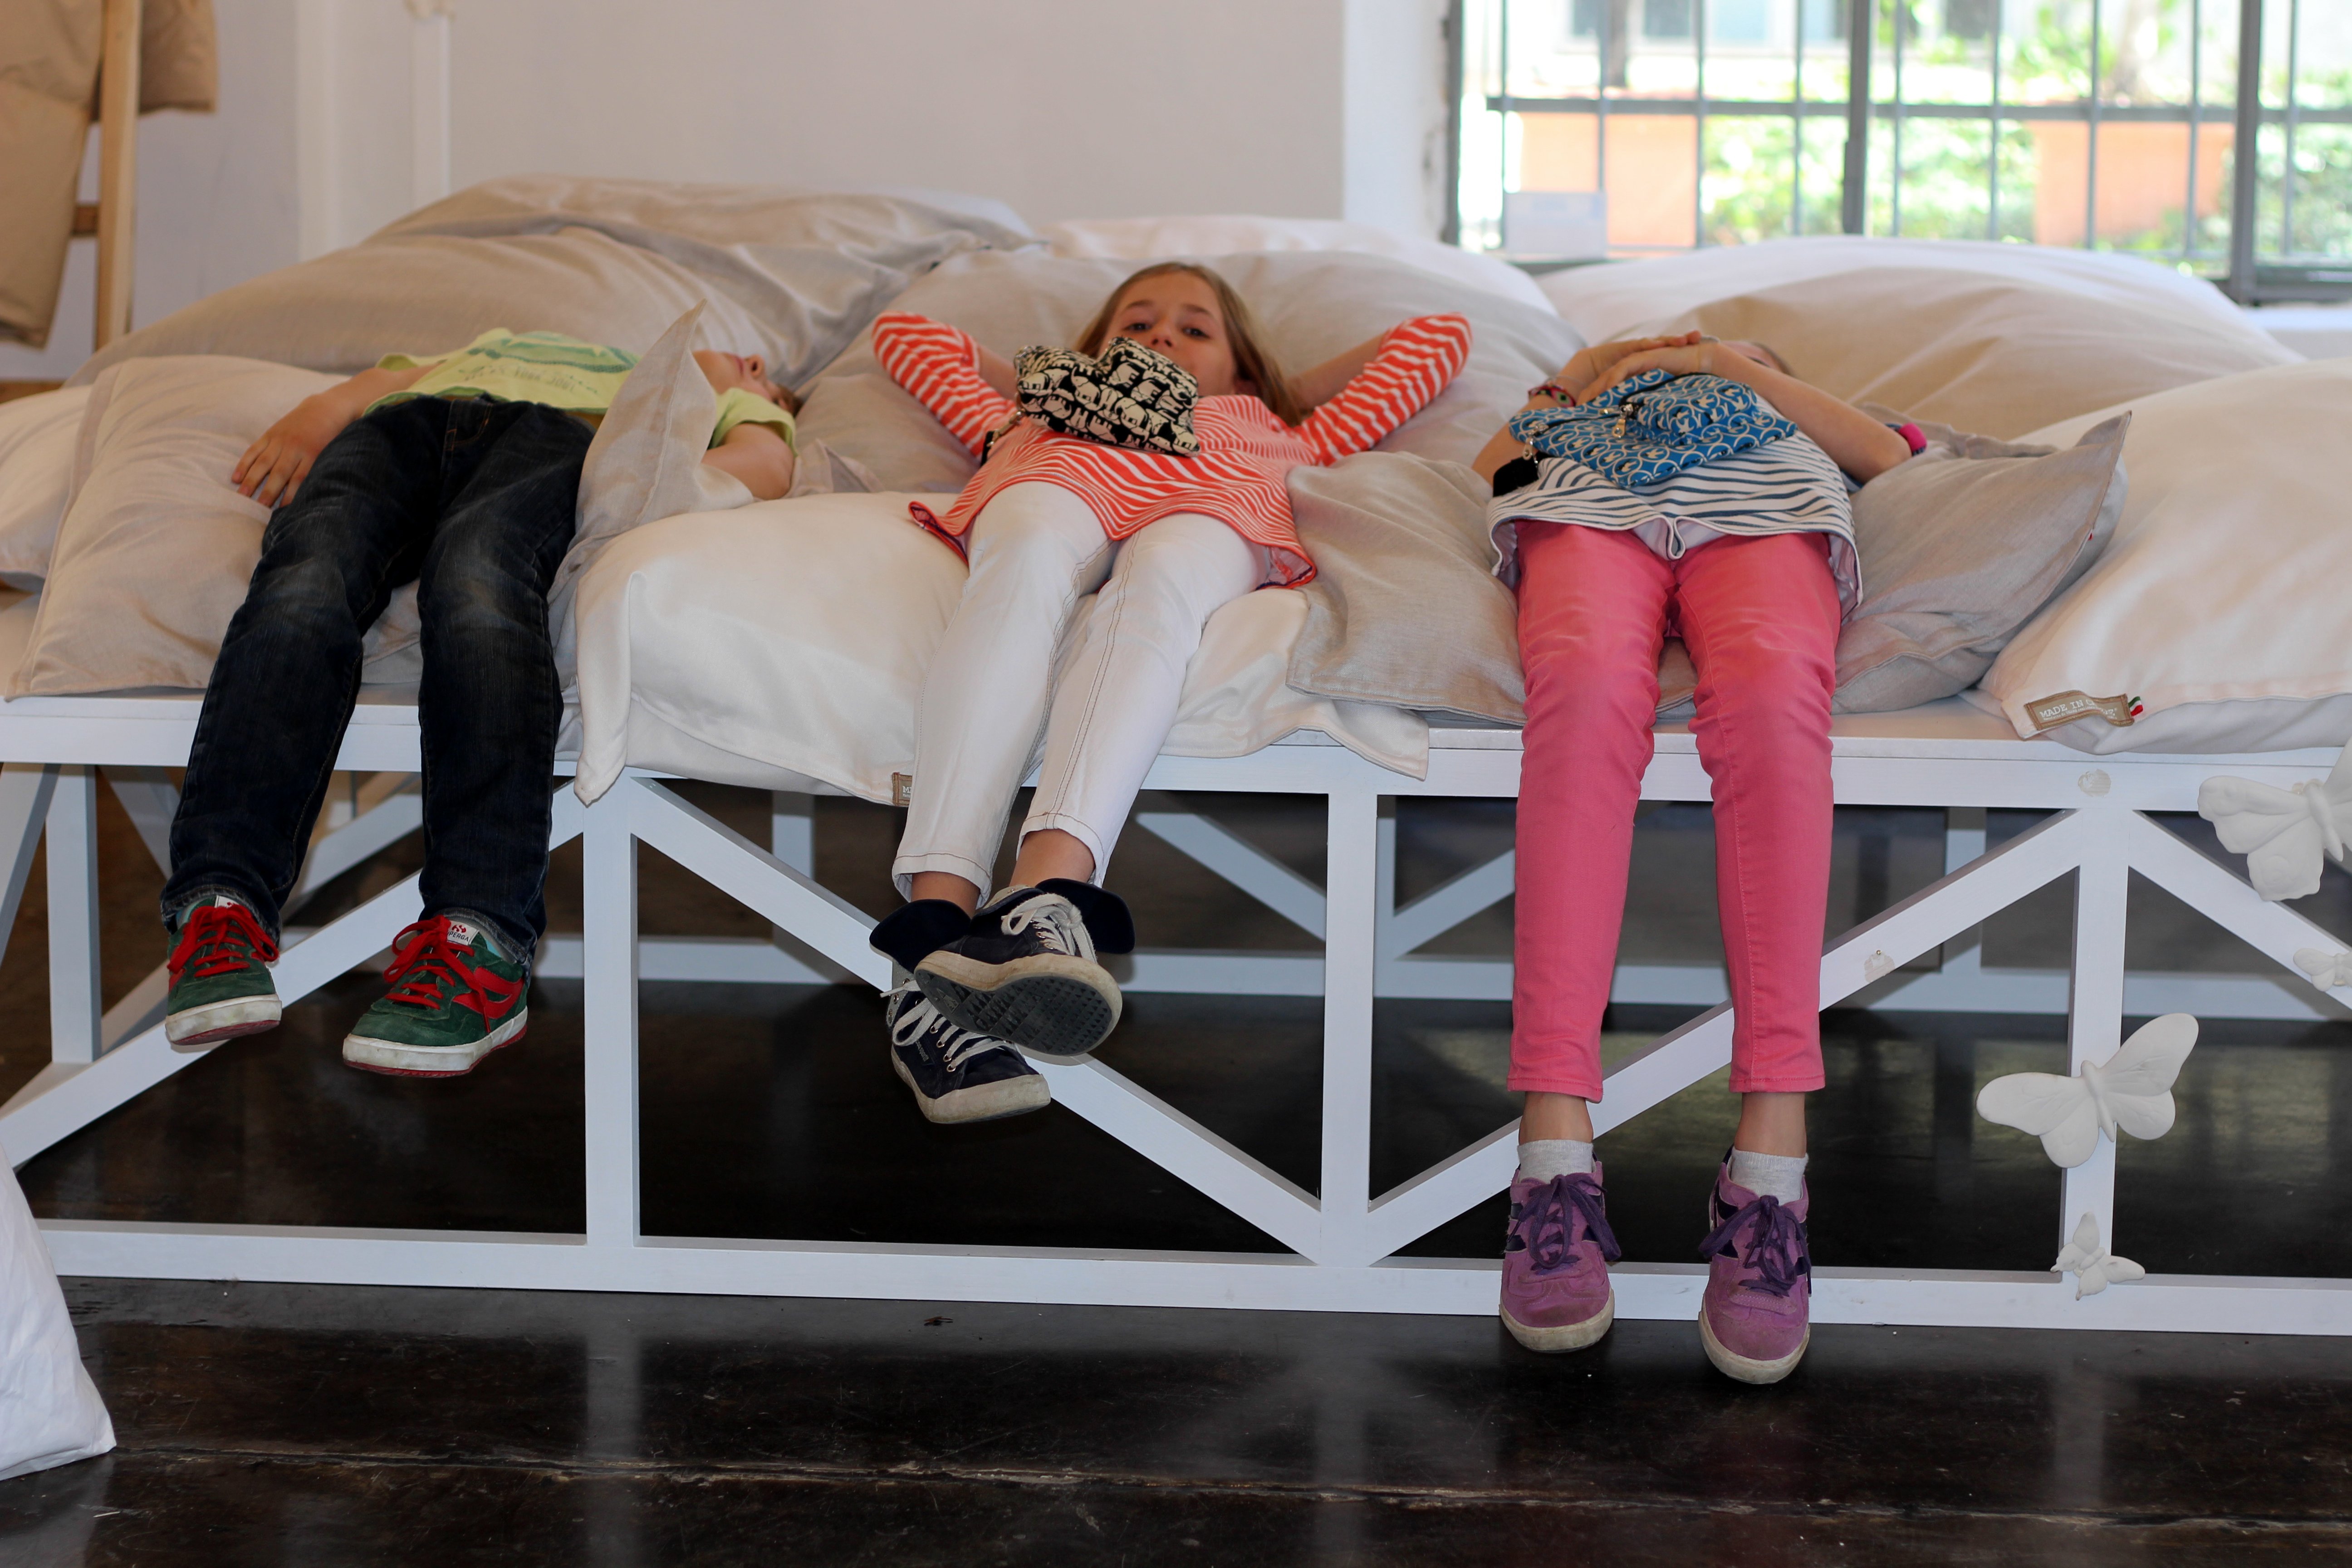
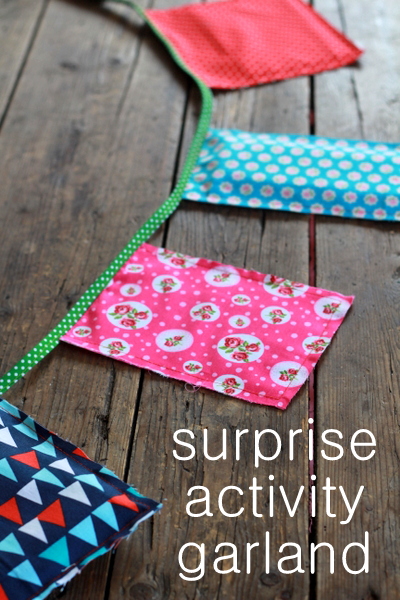
 After a lot of motivation from my three enthusiastic kids I finally finished sewing up their summertime surprise activity garland yesterday. They are so excited to do this again this year. I changed up a few activities from last year and kept a few that were big hits (with a slightly different twist to keep it interesting). This garland is perfect for those moments that the kids are just too tired/hot/bored to come up with something on their own. And surprisingly enough, it’s a great way to get your kids working together. Last year after opening the “architectural challenge” I watched my three kids construct a fairytale village in the lawn with wooden skewers, toothpicks and leaves for over three hours. Their concentration and team work was amazing to see.
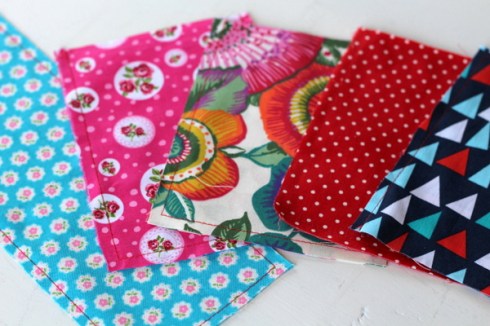
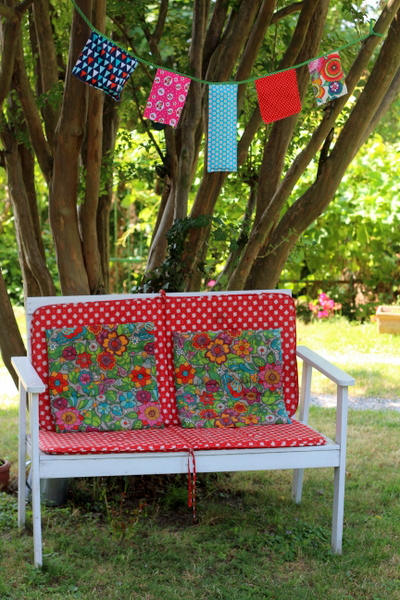
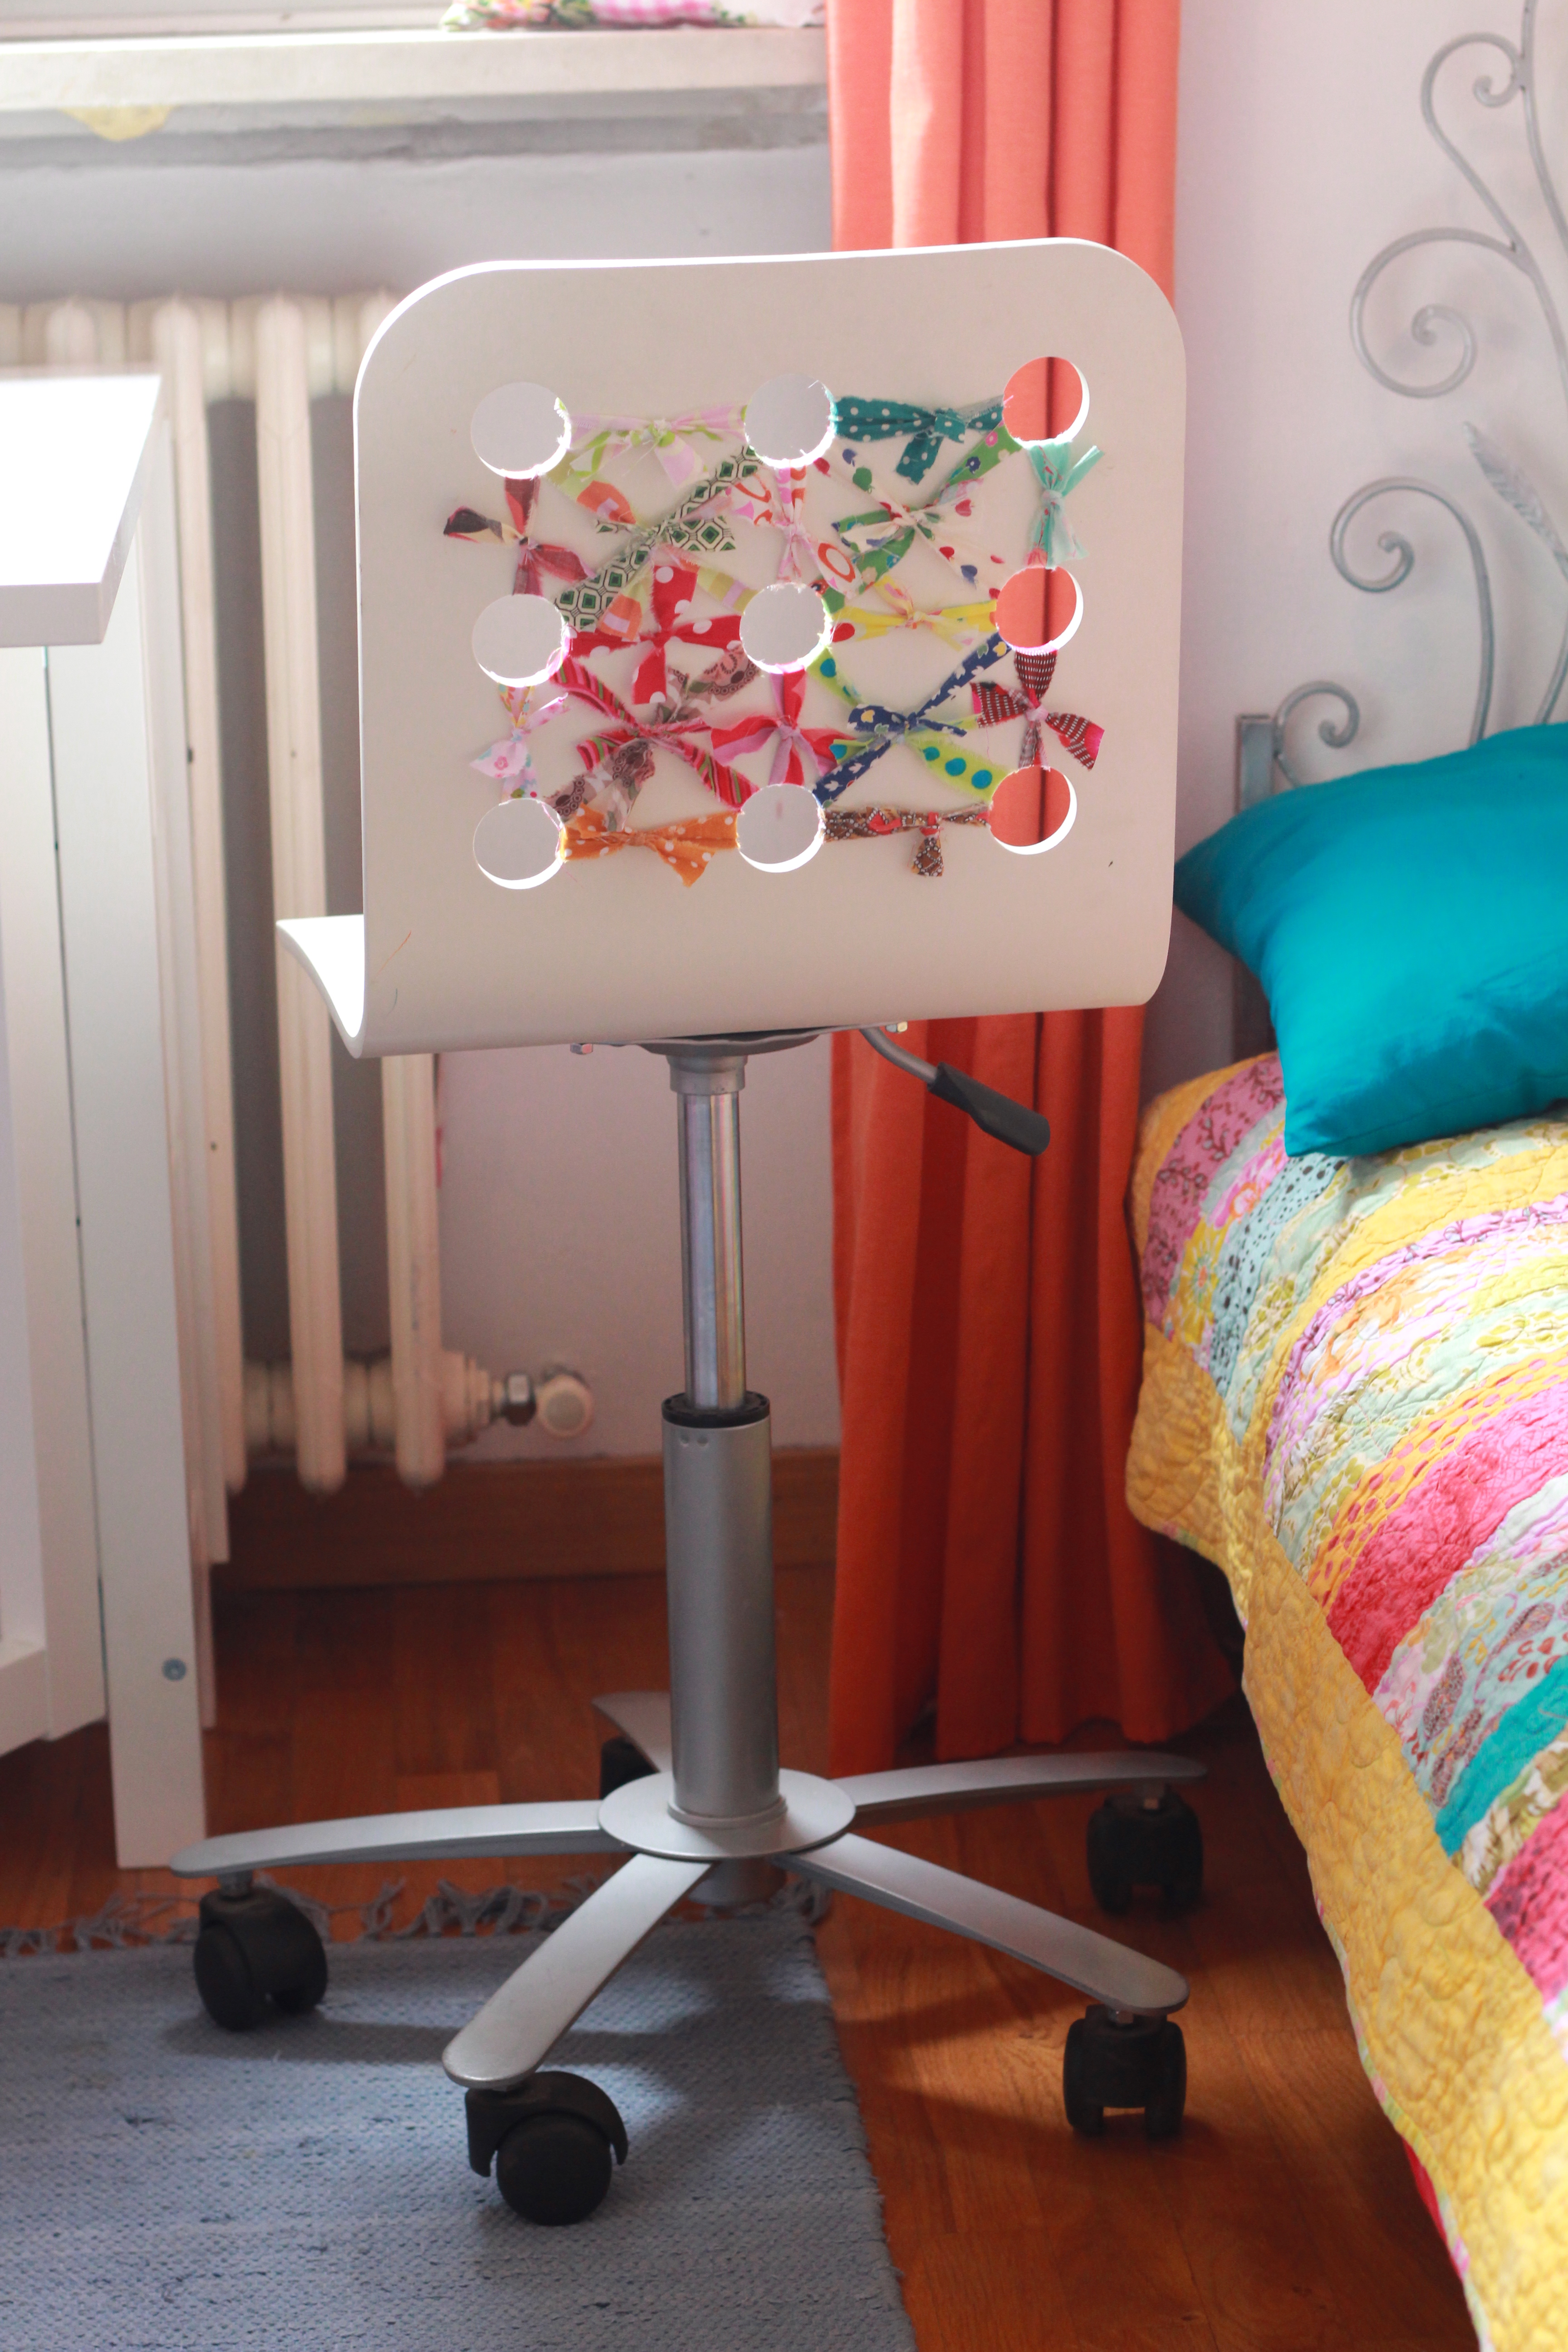
First of all I rummaged through my fabric scraps and sewed up some different sized pouches in which to put the activity items (measure all items and sew accordingly). I just placed two identically sized pieces of material together (bad sides facing) and sewed three sides. Nothing fancy! After inserting the activity cards and items I simply sewed them all shut along a long piece of folded bias tape (you could also use ribbon or a long piece of fabric).
Here are the activities in this year’s garland:
The Photo Challenge: Last year the photo challenge was such a hit that I had to include another one this year. They spent ages coming up with the perfect compositions for their photos last year and the little book we made with them is often hauled out and admired. I just tucked a little card in the fabric pocket that instructs them to take photos that represent a list of 10 words (happy, summer, dance, self portrait and more that I can’t for the life of me remember now).
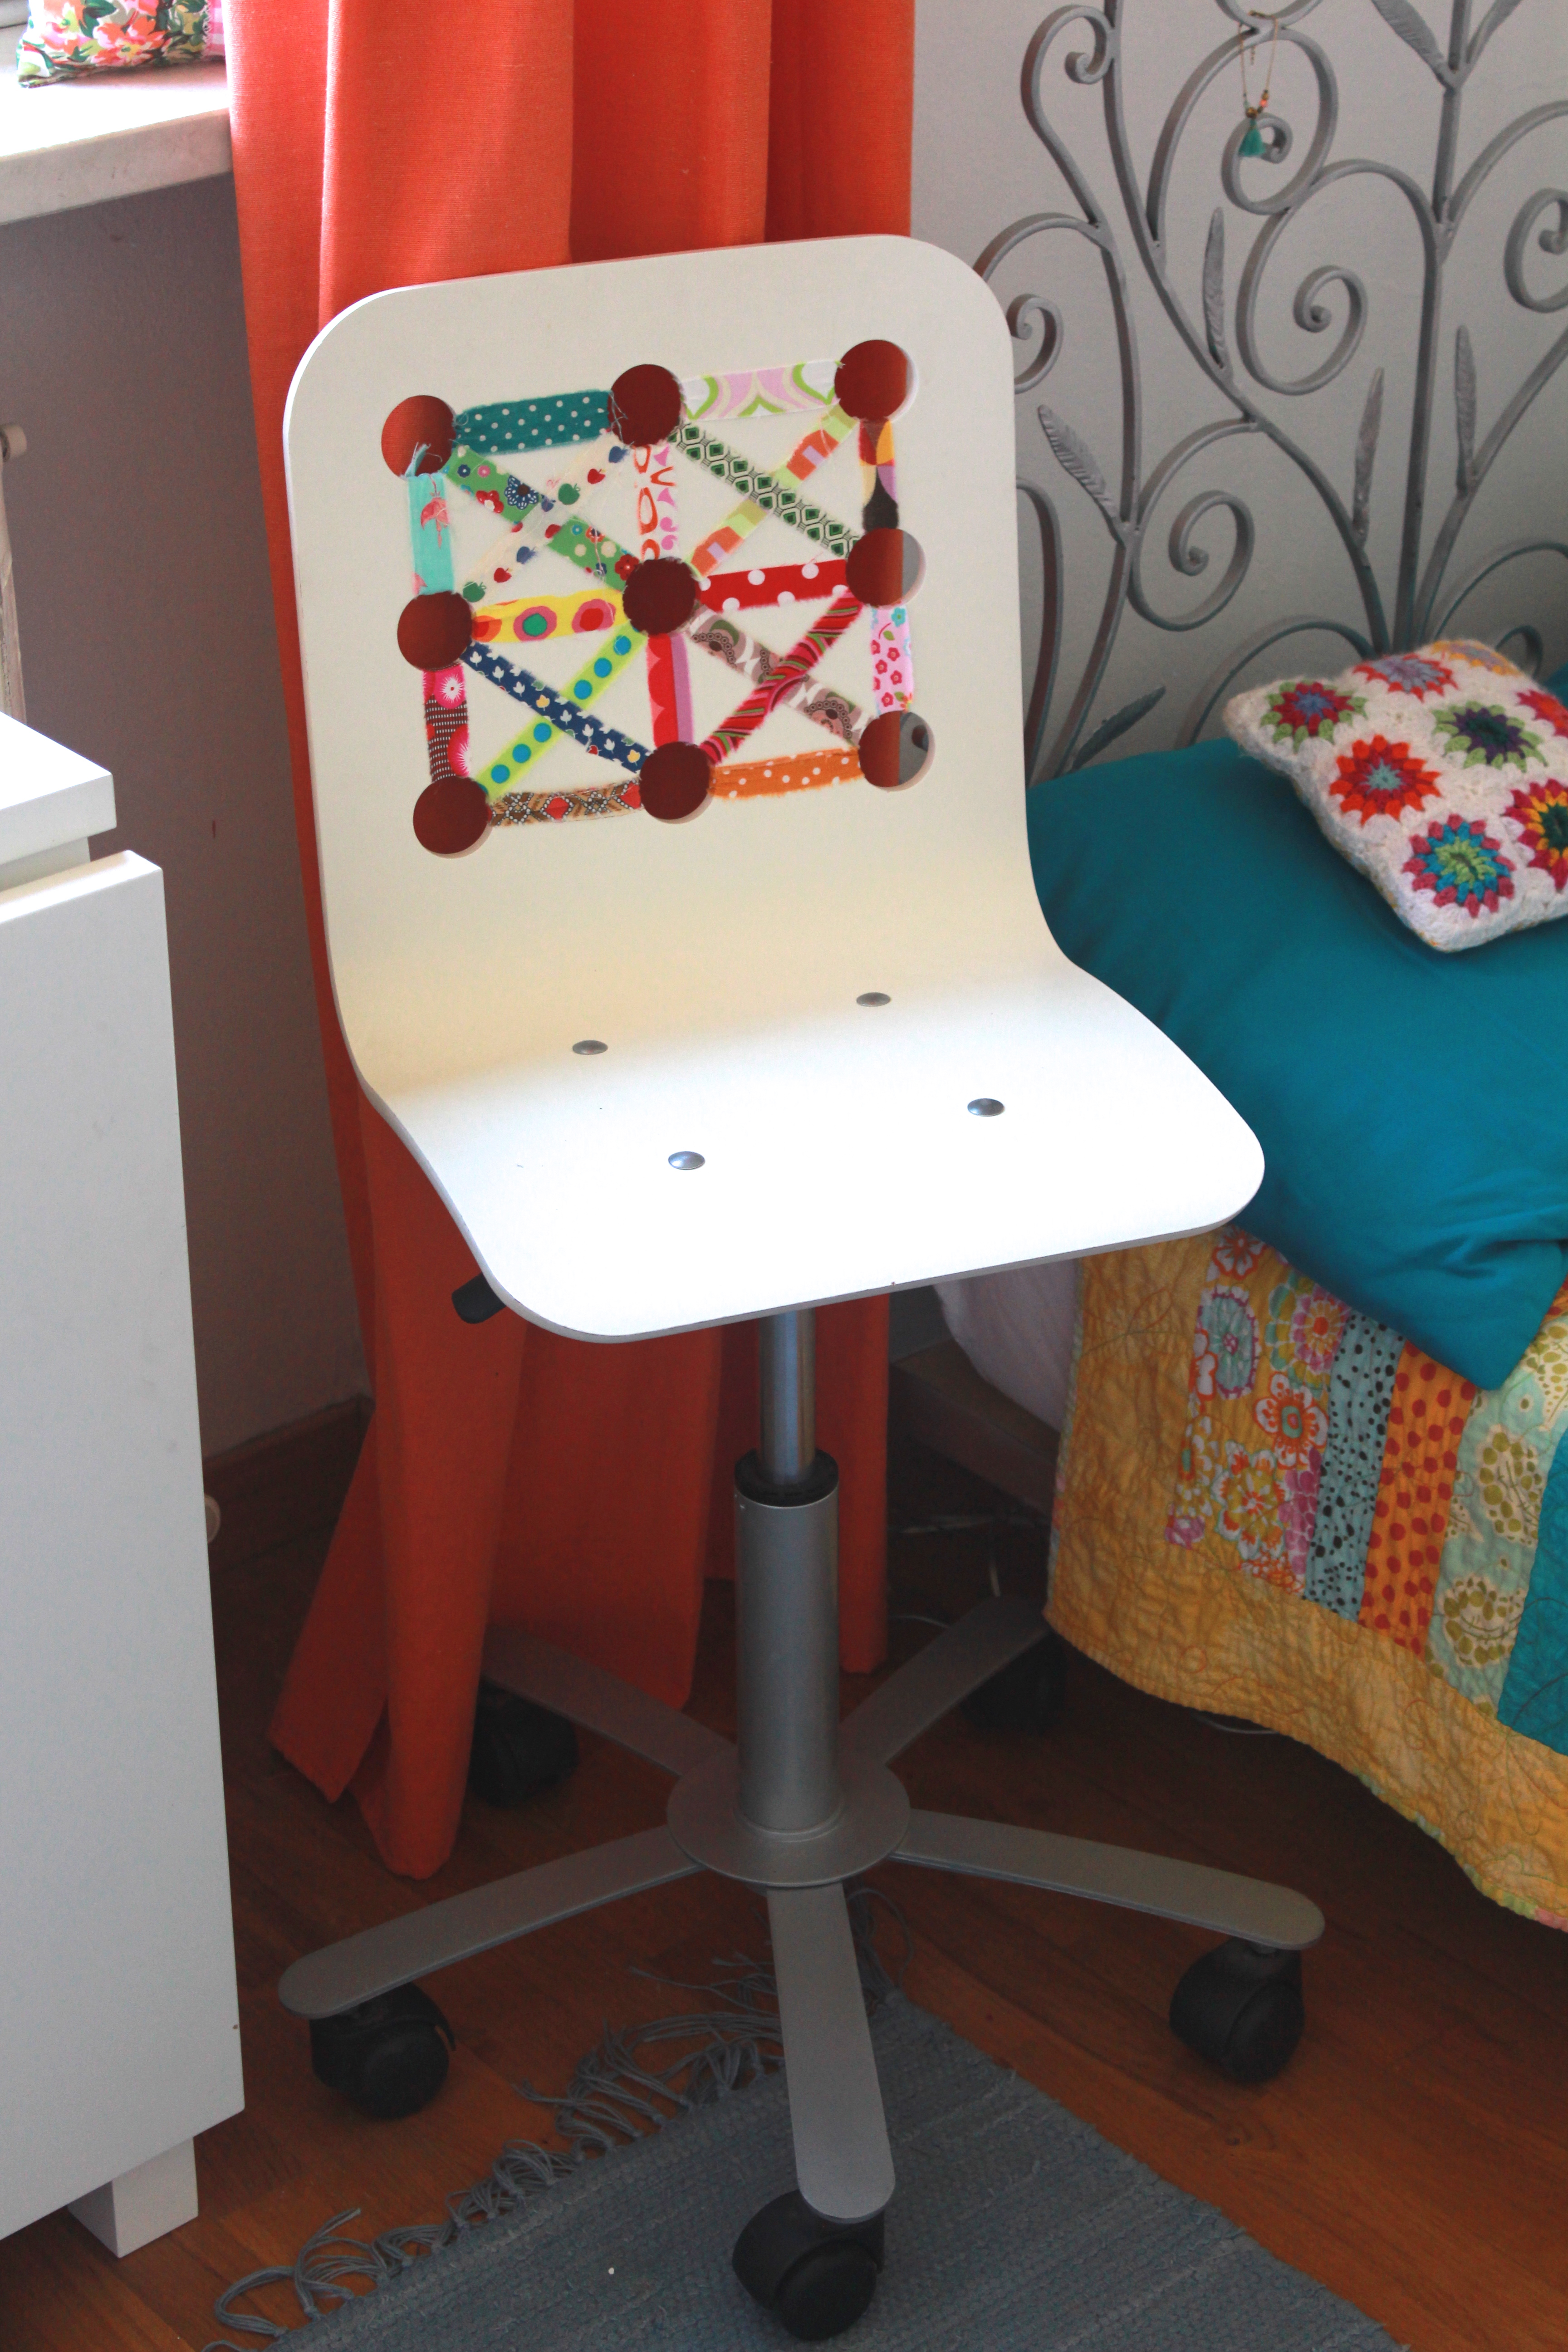
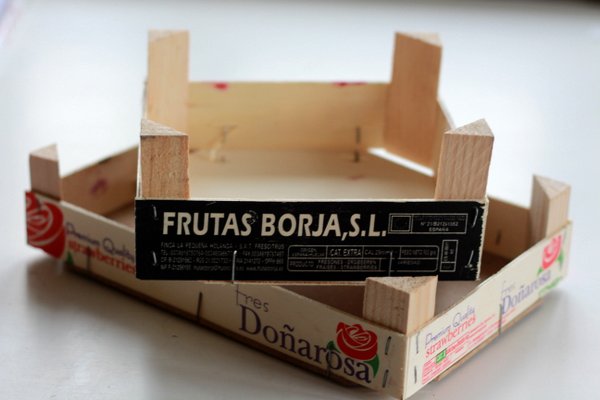
The Architectural Challenge: Another favourite from last year. I included a few packages of long wooden kitchen skewers and toothpicks and some of that sticky gum-like stuff you use to hang photos on the wall (what is that called?!). On the card I gave them instructions to construct a circus tent and come up with name and sign as well. They use the lawn as their base because it’s easy to stick the skewers in for a stable construction. I’ll also give them some small pieces of fabric to decorate.
Whittle Challenge: This is a new one this year. On the card I wrote asking them to look up the word whittle in the dictionary (because I’m pretty sure my multi-lingual kids have never heard that word). Once they’ve figured it out they have to whittle (with small knife provided by me) shapes out of some small bars of soap (see there is a good reason to take those little hotel soaps home with you!). I’ve included simple shapes to whittle such as heart, star, and flower. I’ll let you know how it works out and if there are any major injuries.
Comic Book Challenge: My kids are HUGE comic book fans (it’s a Dutch thing I guess). So I made a tiny book with blank pages. I divided each page into four boxes to accommadate their drawings and story. They have to come up with a story with a circus theme and make their own comic book. The ultimate work-together project. Again, I’ll let you know if there are any injuries.
Cooking Challenge: My kids are really into cooking all of a sudden. And since I really want to encourage and motivate them in the kitchen as much as I can I thought a cooking challenge would be perfect. So for this challenge I included a card which sends them on a search for a particular cookbook on our shelf and to a particular page. They then have to prepare that recipe. This year it’s a recipe for homemade pigs-in-blankets from the children’s cookbook Look and Cook by Tina Davis.
 On top of it being fun for kids this garland is also really pretty to hang up! When the kids are ready to open one of the pouches just cut open along the bottom (which makes it hardly noticeable that it has been opened). You can then keep the garland for decoration or for re-filling with activities next summer.
We’ll be kicking off our garland activities in the coming days. I’ll keep you posted on how they were all received by the little ones!
Tags: activity garland, arts and crafts, diy, garland, kids, photography, sew


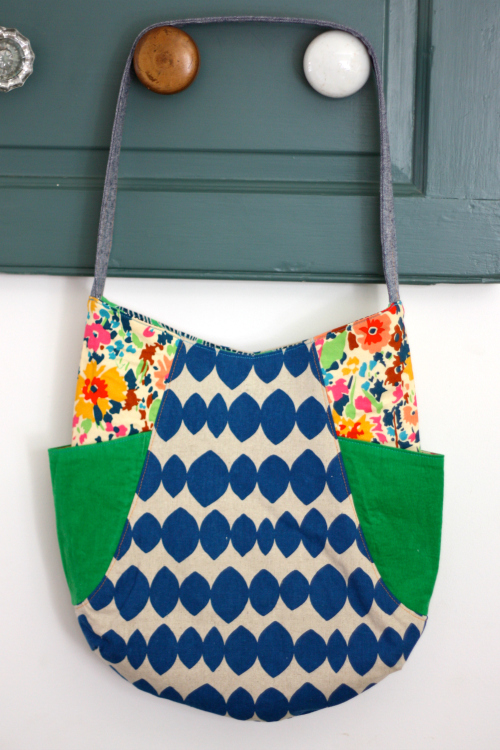 I cam across this gorgeous purse made by Jane from the blog Buzzmills. It was one of her Selfish Sewing Week projects and I absolutely love her choice of fabrics, designs and colours. The pattern is the 241 Tote from Noodlehead. I’ll be buying it to make with my weekly sewing group (and I have the perfect Japanese Echino fabrics to use!).